Tags are useful to help categorise objects in Propeller. These are customisable and can be tailored to your company's needs.
Tags can be applied to the following objects:
- Jobs
- Visits
- Quotes
- Invoices
- Purchase Orders
- Properties
- Credit Notes
- Purchase Credit Notes
Tags are defined under a "Tag Group". A Tag Group specifies what the tags are referring to. For example, if your organisation uses multiple contractors then you may want to specify what contractor is attending a visit. This can be done by creating a "Contactor" Tag Group, with the different contractors as a tag.
_____________________________________________________________________________________________________________________________________
Create a Tag Group
To begin using tags, firstly navigate to Settings > Company Settings > Tags.
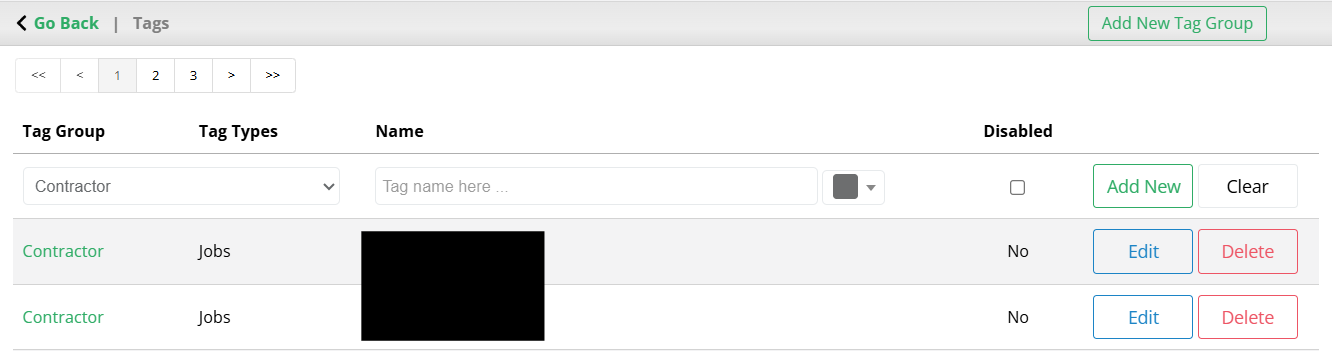
From this page select Add New Tag Group. This will prompt you to add a Tag Group name, an (optional) description, and a Tag Type to assign the group to. Tag Type is the list of objects shown above - a group can be assigned multiple Tag Types.
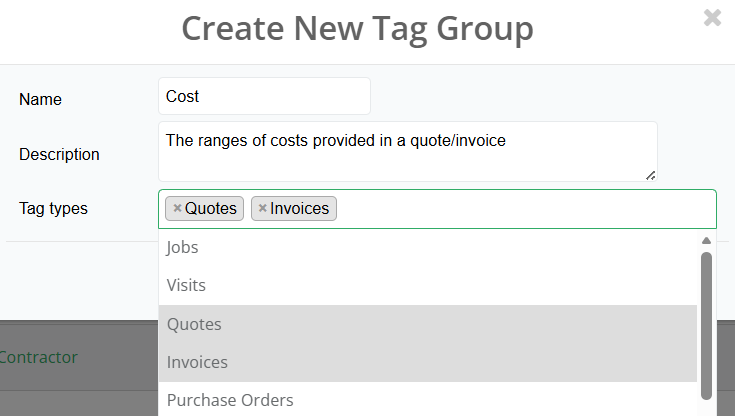
Tag Types can be removed by selecting the 'x' next to the type.
Once the Tag Group has the required details, select Add.
_____________________________________________________________________________________________________________________________________
Create Tags
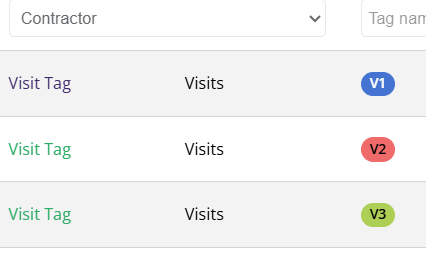
To create a tag, first select the Tag Group the tag is a part of. The Tag Groups are provided in a drop-down menu. The tag can then be named, as well as assigned a colour. Additionally, you can choose whether or not to enable the tag for use. Once the tag is to your liking, select Add New. Alternatively, select Clear to delete the current input.

The new tag can now be found at the end of the tag list, as well as the Tag Type it applies to. Multiple tags can be added to one Tag Group.

_____________________________________________________________________________________________________________________________________
Edit a Tag
To edit a tag, select the Edit button next to the tag. This will enable you to make any changes in a similar format to adding a tag. Once the desired changes have been made, select Update. Otherwise, press Cancel if you do not want to proceed with the changes.

_____________________________________________________________________________________________________________________________________
Delete a Tag
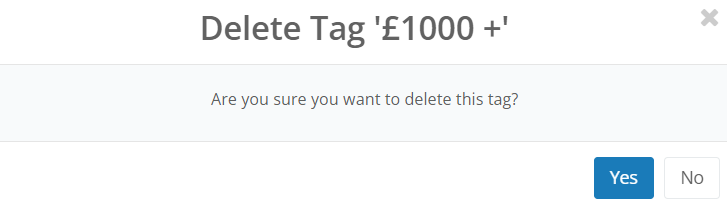
To delete a tag, select the Delete button. This will then prompt you with a confirmation box. Select Yes to proceed with deleting the tag.
_____________________________________________________________________________________________________________________________________
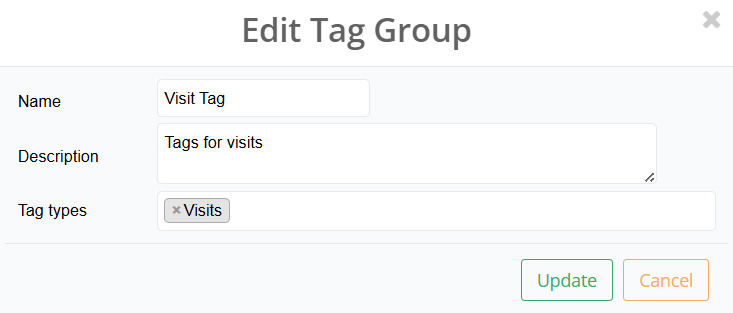
Edit Tag Group
To edit a Tag Group, a tag must exist within that group. If you want to edit a Tag Group without assigning a tag, simply create a placeholder tag and disable it from being used.
Select the Tag Group in the tag list.
This will open a similar prompt to when adding a Tag Group. Make the desired changes and either select Update to save the changes, or Cancel.
_____________________________________________________________________________________________________________________________________
Delete a Tag Group
If you need to delete a Tag Group, please contact Propeller via the email support@teampropeller.co.uk.
_____________________________________________________________________________________________________________________________________
Assigning a Tag to an Object
Once the desired Tag Group and respective tags have been created, the can now be assigned to an object. In this example, the tag will be assigned to an invoice.
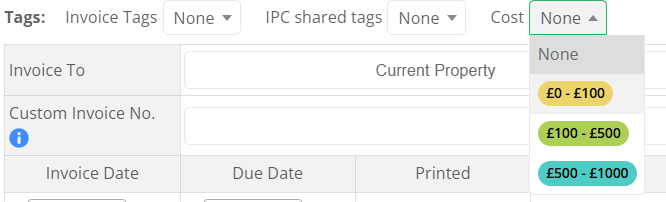
When editing or adding an object, navigate to the Tags section. This will show the Tag Groups assigned to the object.

Select the drop down box next to the Tag Group. From here, you can choose which tags to assign.
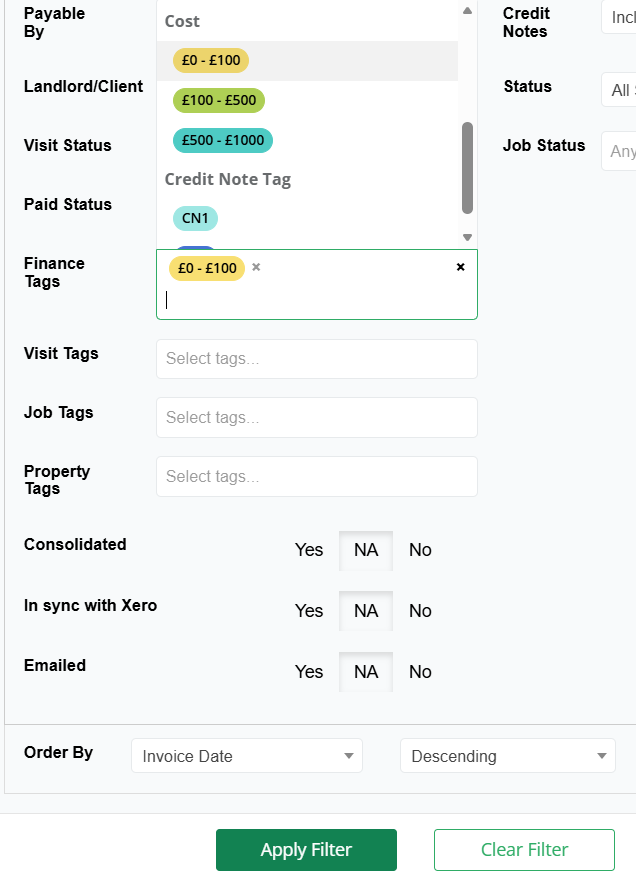
Once the tag has been assigned, that object can now be found under that tag. This can be done in the filter section of a object. In this example, as the tag is assigned to an invoice, select Filter/Sort and go to Finance Tags.
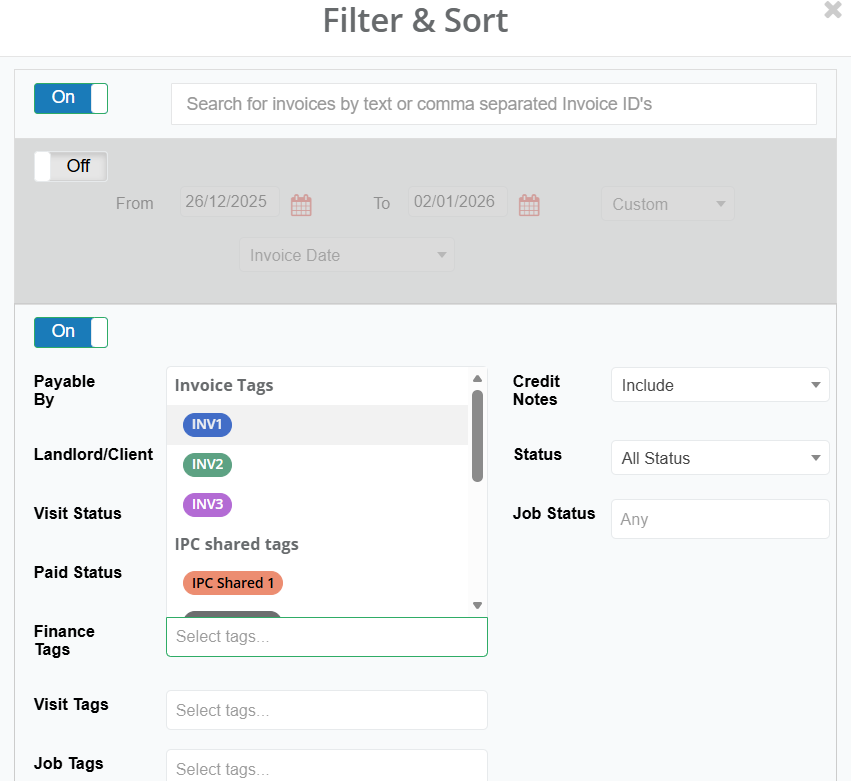
The tag can then be selected and searched.

Was this article helpful?
That’s Great!
Thank you for your feedback
Sorry! We couldn't be helpful
Thank you for your feedback
Feedback sent
We appreciate your effort and will try to fix the article