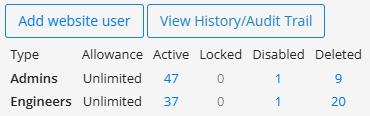
To manage your Website Users, navigate to Settings > User Manager > Website Users. This will display all the current existing website users.

_____________________________________________________________________________________________________________________________________
Create a Website User
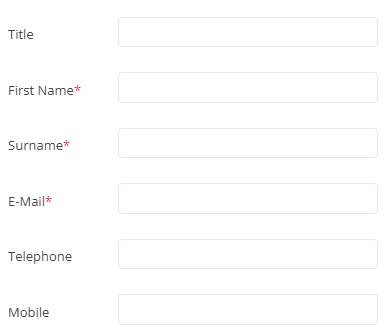
On the right-hand side of the interface, click Add Website User.
The following details can be entered for a user. Details marked with an asterisk (*) are mandatory. User details can be changed at any time.
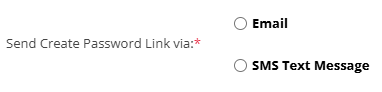
Additionally, you can choose which method to send the link for the user to create their password. This can either be done via email or text message (this will require a valid mobile number in the user's details).
Next select the User Type. You can find out more about the different User Types here:

- Basic - assign the user the basic roles required for Property and Job Management, but not full access roles for your organisation. This will allow the user to:
- Ability to Edit Appliances
- Basic Finance access
- Basic reporting
- Job management
- Parts management
- Property Management
- Task Management
- Client Access - assigns the client access role only. This requires further configuration for a client to view their properties - see Client Access Setup Guide.
- Compliance Access - this will assign the user roles required for compliance such as:
- Gas Analytics Dashboard
- Property Management
- Internal Communications
- View, download reports including multi reports.
- View Costs
- Action Management
- Full Access - assign all user roles available to your organisation.
These can be changed and customised later in the User Roles Page.
Finally you can enable whether the user will have Two Factor Authentication. You can do this by toggling the checkbox. If enabled, you can select how you would like the user to authenticate. This can be done by email, text message, or the Microsoft Authenticator app.
Once the desired details have been entered, select Save to add the new user.
_____________________________________________________________________________________________________________________________________
Edit a Website User
At the top is a search function wjere you can search for the user you are looking for. You can search for either the Username or Full Name of the user.

Once you have found the user you are looking for select them in the table below by clicking on the username.
On the top right-hand side, you have the option to either Edit or delete the user. Click the Edit button to open the user edit page.

You can change any details of the user on this page. Once you have completed your changes click the Update button in the top right.
_____________________________________________________________________________________________________________________________________
Delete a Website User
Select the Delete button in the top right. When you delete a user their account information will still be kept on the system, however, they will no longer be able to access their account.
_____________________________________________________________________________________________________________________________________
Reactivate a Website User
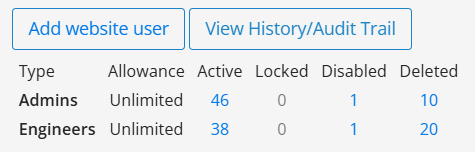
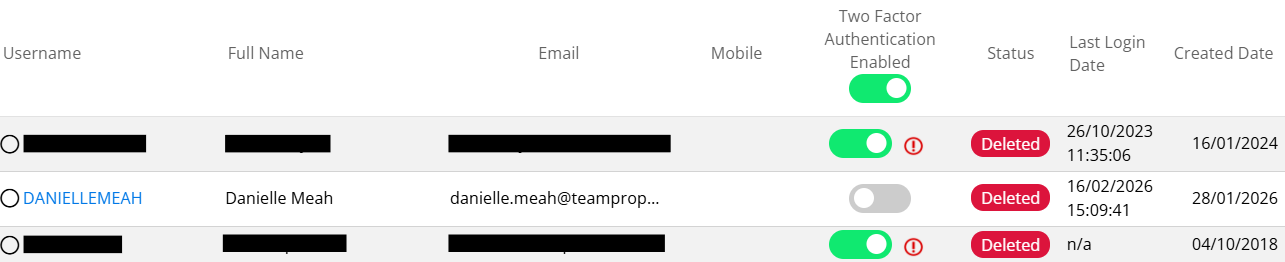
You can view all disabled/deleted website users via the grid in the top right. This will total all the website users and engineers that have been disabled/deleted. To view a list of these users select the corresponding number in the grid.
Once on this page select the user you would like to reactivate by clicking on their username.
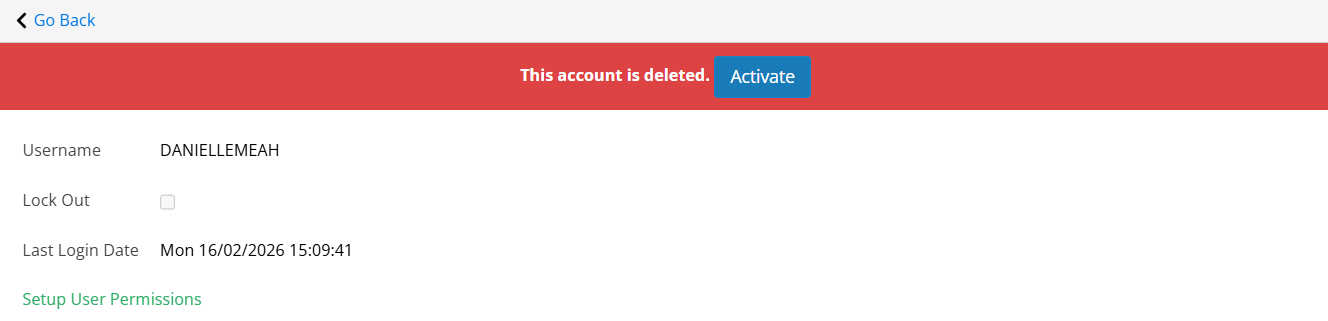
There will now be a banner displayed on their profile alerting you that the user has been deleted. Select Activate to enable the account again.
Was this article helpful?
That’s Great!
Thank you for your feedback
Sorry! We couldn't be helpful
Thank you for your feedback
Feedback sent
We appreciate your effort and will try to fix the article