To create multiple visits at once, navigate to Jobs/Visits > Visit Management > Bulk Create Visits.
This process follows a format similar to a spreadsheet, with several columns to enter the visit data. Mandatory columns for the visits to be processed are marked with a (*).
_____________________________________________________________________________________________________________________________________
Select Visit Property
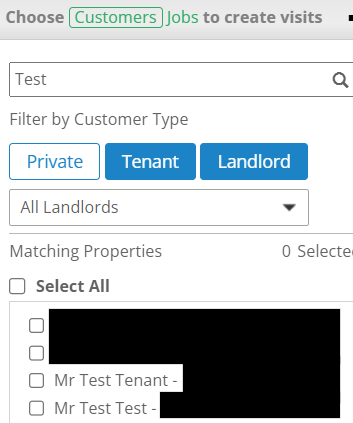
The location of the visits can be selected to the left of the visit creator. These can either be searched via the bar along the top, filtered by customer type or found within the list.
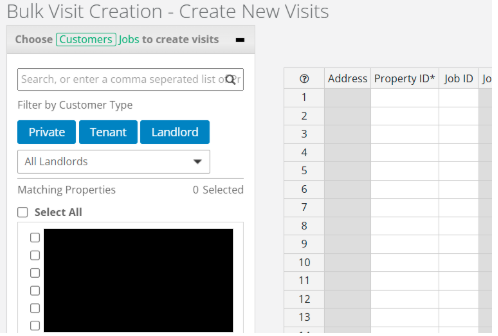
To add a property to the creator, tick the box next to the location and select "Add Selected Properties". Multiple properties can be added to the creator.
If one address requires multiple visits, select the 'Property ID' in the creator and hold and drag the square shown when it is highlighted. This will add the rows required for the visits.
_____________________________________________________________________________________________________________________________________
Adding Visit Details
Once properties have been added to the creator, the rest of the visit information can be entered. Columns such as 'Job Name' and 'Instructions' are open text boxes, allowing any data to be entered. Others, like 'Priority' and 'Service Type' provide a drop down menu of options once the small arrow is selected.
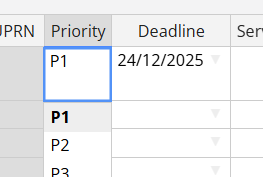
Assigning a priority will automatically enter a deadline based on the priority's SLA. This can be changed manually.
Visits can also be scheduled in the bulk creator. In order to do this, check the 'Scheduled' box, then assign a start date, as well as a visit time. Based on these details, the creator will automatically enter an end date and end time, however these can be changed. An engineer can also be assigned. Uncheck the 'Scheduled' box if the visit is to remain unscheduled.

_____________________________________________________________________________________________________________________________________
Creating Jobs
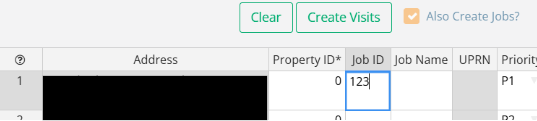
Visits can either be assigned to pre-existing jobs, or added to new ones. To add a visit to a job, enter the job ID to the 'Job ID' column.
Alternatively, if a new job is to be created tick the 'Also Create Jobs?' checkbox above the creator. This will create a new job for each visit. To create visits under the same job, enter a new ID across all the visits required.
_____________________________________________________________________________________________________________________________________
Create Visits
Once all visits are in the creator, select "Create Visits". A Propeller visit ID will be automatically assigned.

If any mandatory data is missing/invalid, this will be flagged by the system before creating the visits.
Alternatively, to remove the visits entered click "Clear".
_____________________________________________________________________________________________________________________________________
Visits can also be edited through a similar process via the Bulk Visit Editor.
Was this article helpful?
That’s Great!
Thank you for your feedback
Sorry! We couldn't be helpful
Thank you for your feedback
Feedback sent
We appreciate your effort and will try to fix the article